
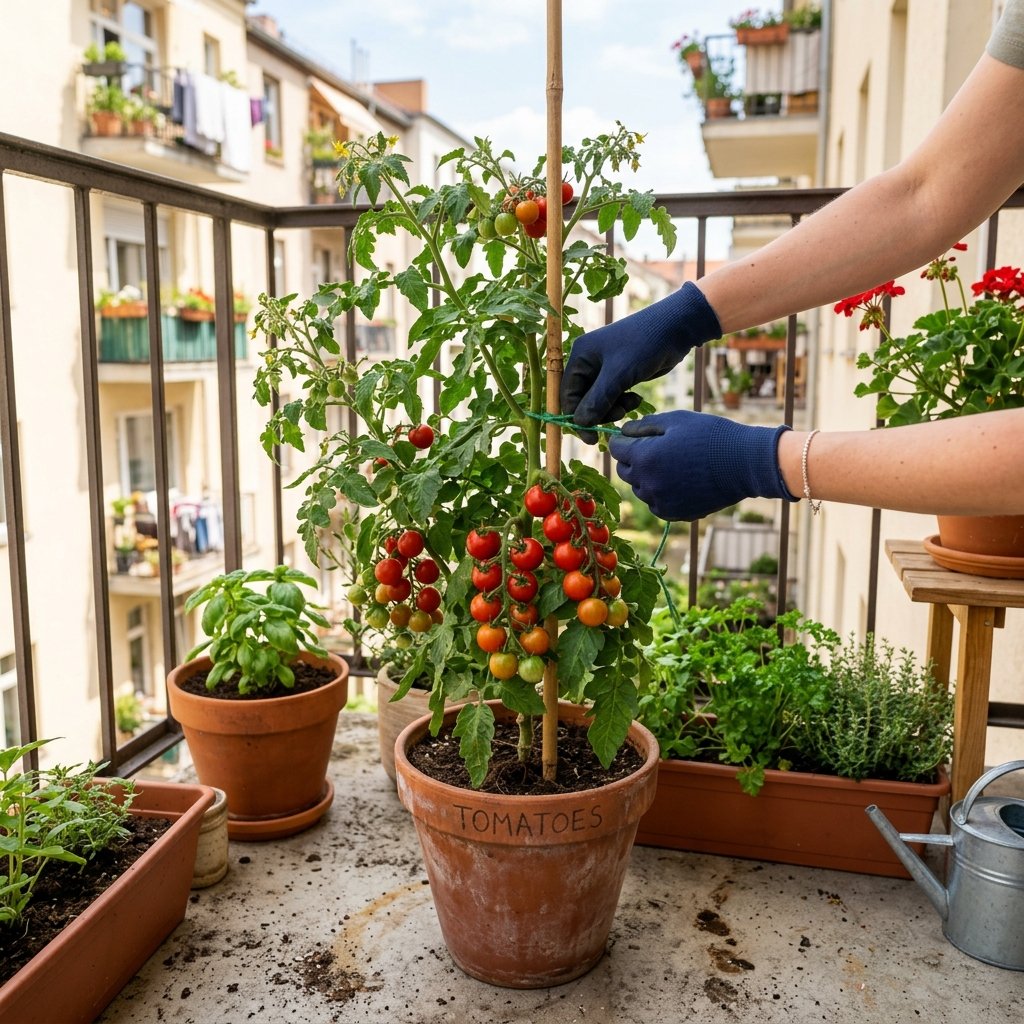
No yard does not mean giving up homegrown tomatoes. Growing tomatoes in containers works well for beginners when the planter is large enough, the plant is grown in potting mix, support is added early, and watering remains consistent.
Containers change the growing conditions: roots have less space, pots can dry out quickly, and a plant loaded with fruit may become unstable. Start by matching the variety to the container, choosing a reliable setup, and planning for regular watering and feeding rather than waiting for problems to appear.
Small setbacks are normal. The sections ahead explain how to choose a variety and container, prepare the setup, manage watering and feeding, and address common problems before they threaten the plant.
Choose a tomato variety and container size that belong together
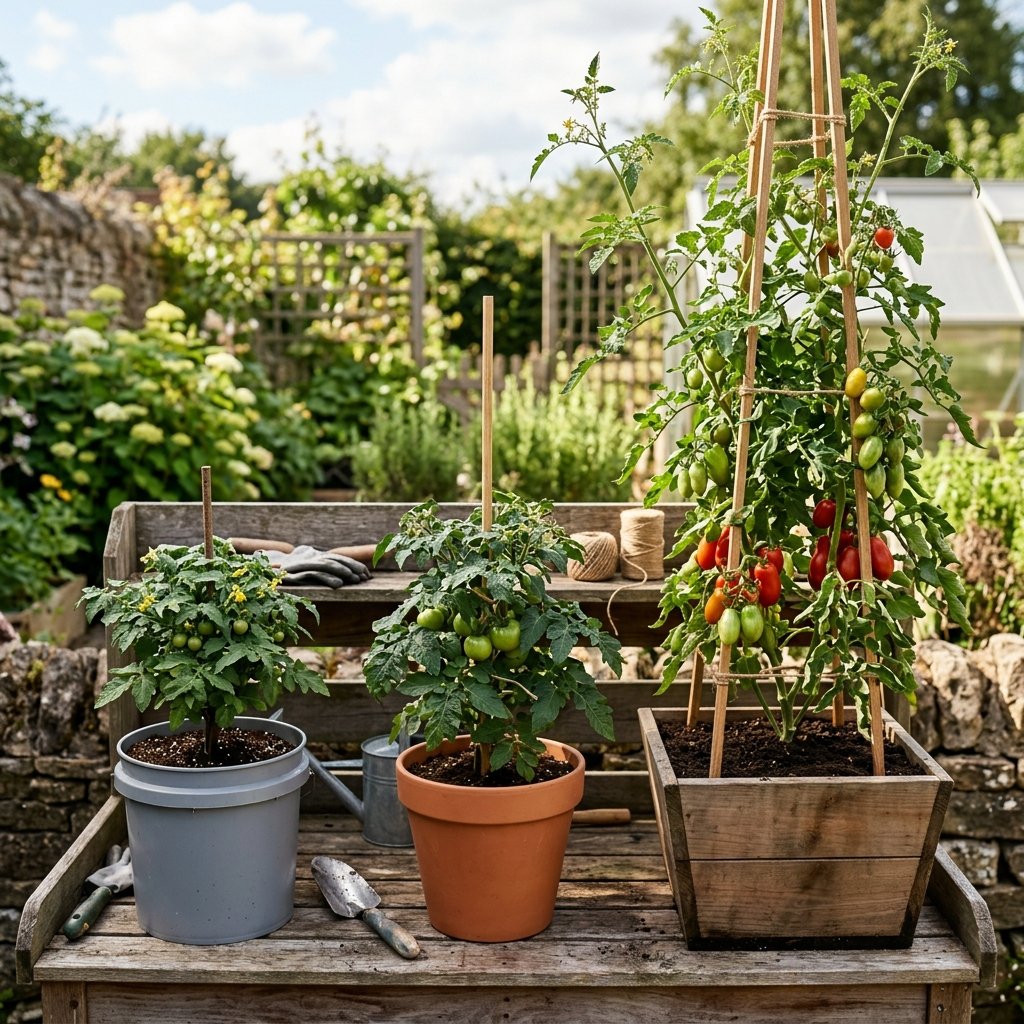
Check a plant’s mature growth habit before buying a seedling or choosing its container. A compact patio or cherry tomato suits a 5-gallon bucket and is a practical choice for beginners. A vigorous vine needs substantially more root space, along with a heavier base to keep it upright.
Determinate, patio, and cherry types are the easier small-space fit
Determinate tomatoes stop growing once they reach their genetically fixed height, then produce much of their fruit in one flush. Their shorter, more predictable form simplifies container selection, support, and placement. Labels such as “patio,” “compact,” and “bush,” along with cherry tomatoes, can point to suitable choices, but always check the listed mature size.
Research summarized by Iowa State Extension places cherry and patio tomatoes at a 2-gallon minimum. Clemson recommends a 14- to 20-inch container for most compact cultivars; a drilled 5-gallon bucket is another workable option. For additional container-planning ideas, see How to Choose Container Gardening: 5 Remarkable Insights.
Give indeterminate tomatoes the root room they require
Indeterminate tomatoes are vining plants that continue extending and producing until frost. The UW Extension guide recommends growing them in a container larger than a 5-gallon bucket. The supplied research sets 10 gallons as the minimum, with 15 to 20 gallons preferred.
Use this sizing guide:
| Tomato type | Practical container size |
|---|---|
| Cherry or patio | At least 2 gallons |
| Compact cultivar | 14–20 inches wide, or a drilled 5-gallon bucket |
| Standard determinate | About 4–5 gallons |
| Indeterminate | At least 10 gallons; preferably 15–20 gallons |
A smaller pot costs less and fits more easily on a balcony, but it dries out faster and can become top-heavy. Grow bags are also suitable when their size matches the plant. If your space cannot safely support a large, heavy container and tall support structure, select a compact variety instead.
Growing tomatoes in containers starts with a stable, well-drained setup
Choose the planting spot before filling the planter. A mature tomato plant, wet potting mix, cage, and container can create a heavy, top-heavy load, particularly on a balcony or deck. Confirm that the surface can support the total weight, then position the planter where wind, heat, and runoff will not cause problems; our guide to gardening on a small balcony covers those placement decisions.
Before you fill the pot:
- Check that the container has drainage holes. Drill holes in the bottom of a 5-gallon bucket. In a larger container, UW-Extension guidance says holes can also be placed a few inches up the sides.
- Estimate the filled weight, including water, a support cage, and the mature plant—not just the empty pot.
- Use one tomato per container and choose a suitably large pot. Clemson HGIC warns that small containers dry quickly and may allow top-heavy plants to blow over.
Use potting mix instead of filling the planter with heavy garden soil
A soil-less potting mix is usually the practical starting point because it is lighter and designed to drain well in containers. UW-Extension explains that garden soil can be included in a mix, but its extra weight can become a problem, especially if the planter must be moved or sits on a balcony.
Commercial mixes commonly contain peat, although peat-free options are also available. Read the label and choose a mix that stays loose instead of compacting. A self-watering planter can help maintain steadier moisture, but it is not essential; a standard container works when it drains well and receives consistent watering.
Plant once, then add support before the tomato gets tall
Install support at planting for any cultivar expected to grow taller than two feet. A tomato cage holds fruit-laden branches, and setting it in place early prevents damage to established roots and crowded stems.
- Choose a planter that matches the tomato’s mature size.
- Confirm that excess water can drain freely.
- Fill the planter with a container-appropriate potting mix.
- Set the tomato in place without compacting the mix around the roots.
- Add a tomato cage, trellis, or other container-grown tomato support immediately if the plant will exceed two feet.
For compact cultivars, place a tomato cage in a container with drainage as you plant. A larger pot does not eliminate the need for support: the container gives roots room, while the cage or trellis carries the weight above the soil.
Do this now, not later: support is easiest to install before the plant becomes tall, tangled, and heavy.
Keep water and fertilizer consistent as the plant grows
Consistency matters more than following a rigid calendar. Containers may need water at least once daily, and sometimes twice during hot weather, depending on plant size and container size, according to Ask Extension guidance.
Small containers dry faster, increasing the watering burden. Check the mix every day and adjust for heat, wind, rainfall, and plant growth instead of copying someone else’s schedule. A seasonal balcony gardening calendar can help with planning, but daily checks determine what the plant needs today.
Use fertilizer exactly as the product label directs. Over-fertilizing can burn roots, while excess nitrogen may delay flowering and reduce fruiting. Brown, brittle root tips and curled leaves are warning signs, not reasons to apply more fertilizer.
Blossom-end rot appears as a dark, sunken patch on the fruit’s blossom end. Research summarized from Penn State Extension indicates that it is rarely caused by a literal lack of calcium in the potting mix; uneven moisture can prevent calcium from reaching rapidly expanding fruit.
Prioritize even watering instead of adding amendments on impulse. Do not use Epsom salts as a blossom-end-rot cure: the supplied research says they do not fix the problem, and excess magnesium can interfere with calcium uptake.
Let container size and heat determine how often you check water
A 5-gallon planter generally demands closer attention than a larger container because it holds less moisture around the roots. Hot, windy conditions can shorten the interval further, so check daily and inspect the plant again during severe heat.
Self-watering planters can make this task easier, but they are not required for healthy tomatoes. Whichever container you choose, drainage and consistent moisture checks matter more than a promised refill schedule.
Feed carefully and do not mistake a watering problem for a calcium problem
Follow the fertilizer’s application directions rather than inventing a universal interval. More fertilizer is not a shortcut to more tomatoes: excess nitrogen can delay flowering, and concentrated fertilizer can damage roots.
If blossom-end rot appears, first restore steady moisture and inspect drainage. Avoid Epsom salts and other impulsive amendments; the supplied research links the disorder more often to calcium-uptake problems during uneven watering than to an empty potting mix.
Use plant problems to adjust the container plan, not to start over
Most problems with container-grown tomatoes signal a setup issue rather than a need to replace the plant. Check the container size, drainage, watering consistency, and fertilizer use first, since a single symptom may have several causes.
| What you see | First check |
|---|---|
| The plant dries out constantly or tips over | An undersized container may not hold enough moisture or provide enough weight for the root system. Clemson’s container guidance warns that a small pot can leave a top-heavy tomato plant unstable. Reassess the container instead of simply watering more often. |
| Dark, sunken damage appears at the fruit’s blossom end | This pattern is consistent with tomato blossom end rot. Start by reviewing uneven watering and root uptake: Penn State Extension guidance, summarized by Greenway Biotech, says the problem is rarely caused by a lack of calcium in the soil. Do not automatically add calcium or Epsom salts. |
| Brown, brittle tips, leaf curling, delayed flowering, or reduced fruiting | Over-fertilization can cause root burn, excessive leafy growth, and fewer flowers. Pause extra feeding, check the product label, and inspect drainage before applying anything else. |
Heat and wind on an exposed balcony can accelerate drying and make an unstable plant more likely to tip. Use this What is Container Gardening? 5 Proven Benefits guide alongside the project guide on gardening on a small balcony to account for those added stresses.
Conclusion
Let the plant’s expected size and the balcony’s exposure guide your choices: select the tomato variety first, then pair it with the largest stable planter your space can support. Use a lightweight, well-drained mix, add support early, and respond consistently to the plant’s watering and fertilizer needs. With those conditions in place, growing tomatoes in containers is manageable rather than complicated.
A compact tomato in a properly prepared 5-gallon bucket makes a realistic first project. An indeterminate plant requires a larger commitment, as UW-Extension guidance explains. Before planting, confirm that the container is stable, drains freely, and can accommodate the plant’s mature growth.